

Introduction: Why You Don't Need a Studio to Record Great Vocals at Home
Have you ever recorded a song idea on your phone and cringed at how thin and echoey it sounds? You're not alone. Most beginners want to record vocals at home, but they don't know which gear is worth buying.
The good news is that a solid home recording setup does not need a soundproof room or thousands of dollars. As of September 2026, a small, budget-friendly setup can still capture vocals that sound clean and professional.
- You'll learn exactly which microphone type to buy first
- You'll understand what an audio interface actually does (and why you can't skip it)
- You'll see three price tiers so you can pick a setup that fits your budget
- You'll avoid the beginner mistakes that make home recordings sound amateur
In this guide, we'll break down a complete budget setup for recording vocals at home in 2026, tier by tier.
1. What You Actually Need: The Three Pieces of a Home Vocal Setup
Before we talk about products, it helps to know what each piece of gear does. A home vocal setup has three core parts, and skipping any one of them will hurt your sound.
- A microphone that picks up your voice clearly, without also picking up every sound in the room
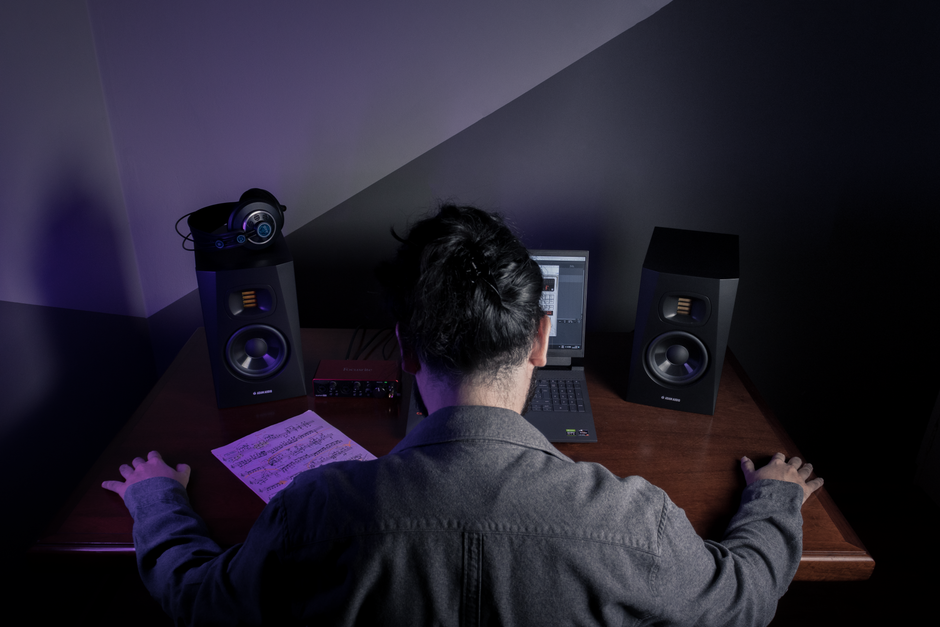
- An audio interface, a small box that turns your mic's signal into something your computer can record
- Recording software, often called a DAW (digital audio workstation), where you record and edit the take
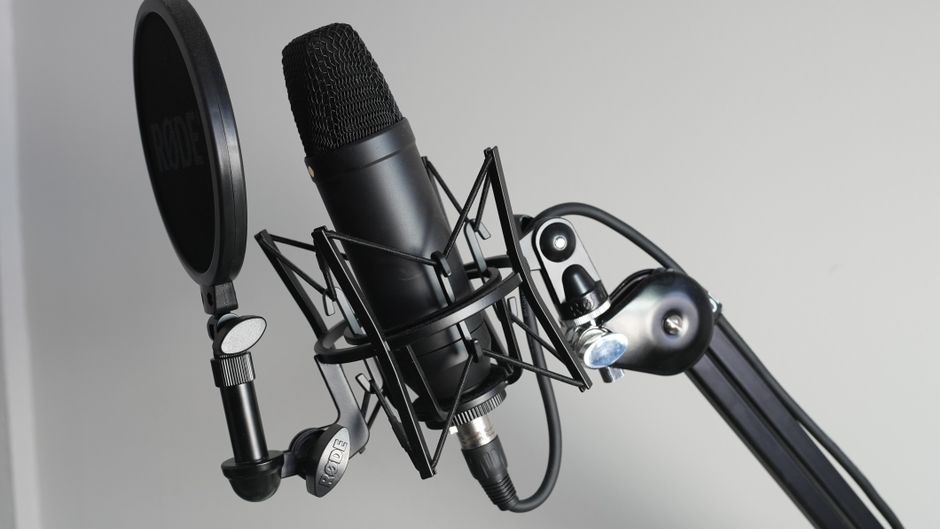
A few small accessories, like a mic stand and a pop filter (a mesh screen that softens popping "p" and "b" sounds), round out the setup. None of these need to be expensive.
2. The Microphone: What Actually Matters for Home Vocals
For home vocals, most guides point to the same category: an affordable large-diaphragm condenser microphone. "Large-diaphragm" means the part that vibrates inside is bigger, which usually captures more detail. "Condenser" means the mic needs power, which is where the interface comes in.
A well-known budget option is the Audio-Technica AT2020. It uses a cardioid polar pattern, meaning it mainly picks up sound from directly in front of it, while pushing background noise further away. That matters in a bedroom or home office, where you can't control every sound around you.
It covers a frequency range of 20Hz to 20kHz (roughly the full range of human hearing), with a small boost between 5kHz and 10kHz that adds clarity to vocals. It also benefits from the proximity effect: the closer you get, the warmer your voice sounds.
One catch: a mic like this needs phantom power, a small electrical charge (usually 48V) sent through the mic cable from your interface. If your interface has no phantom power switch, the mic won't turn on. Check this before you buy.
If you want something simpler, USB versions of similar mics skip the interface and plug straight into your computer. A large-diaphragm condenser from Rode is another commonly recommended alternative in this price range. Prices change often, so check current listings before buying.

3. The Audio Interface: Where Your Voice Actually Gets Recorded
The audio interface is the part beginners skip most often, and it makes the biggest difference. Without one, a studio-style condenser mic simply cannot connect to your computer.
When shopping for a budget audio interface for vocals, look for:
- At least one microphone input with switchable phantom power
- A USB connection that matches your computer (USB-C is now standard on most 2026 laptops)
- A headphone output with its own volume knob
- Bundled recording software, since many budget interfaces include a free or discounted DAW license
You don't need multiple inputs or high-end preamps (the circuits that boost your mic's signal) just to record vocals. A single-input interface with clean preamps serves a solo vocalist as well as a pricier multi-channel model.
4. Accessories That Matter More Than You'd Think
A few cheap extras can noticeably improve your recordings, often more than upgrading the mic itself would.
- A pop filter stops bursts of air from "p" and "b" sounds from hitting the mic and causing distortion
- A proper mic stand keeps the mic steady and out of the way of your hands, cutting down on bumps and handling noise
- A shock mount suspends the mic in a small cradle, absorbing vibrations from the floor or desk
- A compact absorber panel behind the mic cuts down on room echo, even in a small bedroom
- Closed-back headphones let you monitor your voice while recording without the sound leaking into the mic
None of these need to be premium for a starter setup.
5. Three Budget Tiers: Starter, Mid, and Pro
Not everyone needs the same setup. Here's how to think about spending based on how serious you are.
Starter tier (roughly $100–$200)
A single condenser mic bundled with a pop filter and cable, paired with the cheapest interface that offers real phantom power, plus basic headphones. That's about the price of a decent pair of wireless earbuds, and it's capable of professional-sounding takes if your room isn't too echoey.
Mid tier (roughly $250–$400)
The same category of mic, paired with a better interface (cleaner preamps, sturdier build) plus a shock mount and a small absorber panel. This fits anyone recording vocals regularly, like a podcaster or a songwriter demoing tracks every week.
Pro-leaning tier ($400 and up)
Here, people usually upgrade either the microphone or the room treatment, since a treated room often improves a recording more than a pricier mic does. This tier makes sense once you know your workflow and want to fix a specific weak point.
Prices shift often, so treat these as rough guidance, and check current pricing before you buy.
6. Common Mistakes Beginners Make When Setting Up a Home Vocal Rig
Even with good gear, a few habits quietly wreck home vocal recordings. Watch for these:
- Recording too far from the mic. This loses the proximity effect and picks up more room noise. A few inches to a foot away is a common starting distance.
- Ignoring the room. A bare room with hard walls sounds boomy, no matter how good the mic is. Soft furniture and a small absorber panel help.
- Skipping the pop filter. It's the cheapest fix on this list, and beginners skip it most often.
- Buying a mic before checking the interface. A great condenser mic is useless without phantom power.
- Forgetting gain staging. Set your input level so your loudest note doesn't turn the meter red; a distorted signal can't be fixed later.
Conclusion: A Budget Setup Really Can Sound Professional
You don't need a full studio to get a clean, professional vocal take at home. A budget microphone, a simple interface with phantom power, and a few small accessories will get you most of the way there.
Start at whichever tier fits your budget, treat your room as much as your gear, and don't skip small stuff like the pop filter and gain staging.
Post a Comment