

Why a Fingering Chart Is the First Thing You Need
Have you ever picked up a soprano recorder in music class and had no idea which holes to cover? You are not alone. Most beginners freeze the first time they see a full recorder fingering chart with all its black and white circles.
A fingering chart is just a map. It shows which holes to cover for each note, one note at a time. Once you understand how to read it, the whole instrument stops feeling like a mystery.
- Play your first real notes within a few minutes
- Understand why some notes use one hand and others use both
- Avoid the squeaky, airy sound that comes from covering holes wrong
- Learn your first simple songs without needing sheet music yet
In this guide, we will cover how to read a recorder fingering chart, walk through every note from low B up to high D, and share breath and tonguing tips that make a real difference for beginners.
1. How to Read a Recorder Fingering Chart
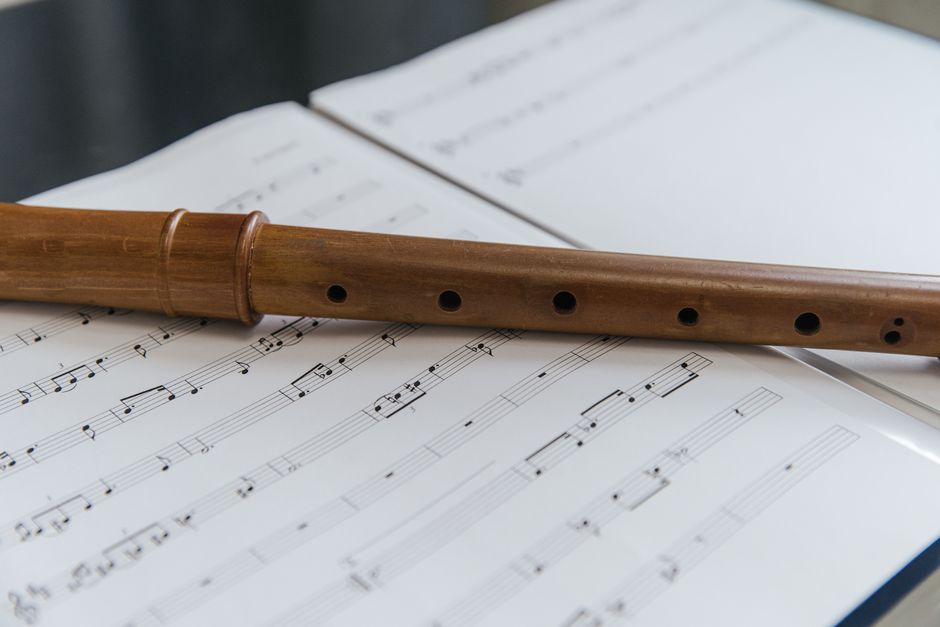
A standard soprano recorder has eight holes. One is on the back of the instrument, covered by your left thumb. The other seven are on the front, covered by your fingers as you hold the recorder with both hands.
Your left hand goes on top, closer to the mouthpiece. Your right hand goes on the bottom, closer to the end of the instrument. On most charts, a filled-in (black) circle means "cover this hole." An open (white) circle means "leave this hole uncovered."
- Left thumb covers the hole on the back
- Left index, middle, and ring fingers cover the top three front holes
- Right index, middle, ring, and pinky fingers cover the bottom four holes
One detail confuses almost every beginner at first: the bottom hole is often actually two small holes side by side, called a double hole (a pair of small holes instead of one big one, used to fine-tune certain notes). For basic notes, you usually cover both halves with one finger, like it is a single hole.
2. Your First Three Notes: B, A, and G
Almost every recorder class starts with the same three notes, because they only use your left hand. Once you can play these three cleanly, you already know enough to play a full song.
- B — cover the thumb hole and the top front hole (left index finger)
- A — cover the thumb hole, plus the top two front holes (left index and middle fingers)
- G — cover the thumb hole, plus the top three front holes (left index, middle, and ring fingers)
Notice the pattern: you are simply adding one more finger each time you move from B down to A, then down to G. This is exactly why these three notes come first — your fingers learn the pattern before your brain has to think too hard about it.
The classic beginner song "Hot Cross Buns" uses only these three notes. If your teacher has you play that song in the first week, this is why.

3. Adding Your Right Hand: C, D, and E
Once B, A, and G feel comfortable, the next step is bringing in your right hand. This is where a lot of beginners get nervous, but the same "add one finger at a time" logic still applies.
- D — cover the thumb hole and all three left-hand holes, then add the first right-hand hole (right index finger)
- C — same as D, but add the right middle finger as well
- E — cover the thumb hole, the three left-hand holes, and leave a small gap before covering fewer right-hand holes than C; this one takes extra practice to get the tone clean
Do not worry if C and E feel shaky at first. These two notes ask your right-hand fingers to seal holes tightly without pressing so hard that your hand cramps. Most students need a week or two of daily practice before these notes stop sounding airy.
With B, A, G, C, and D in your fingers, you can already play "Mary Had a Little Lamb" and most other five-note beginner songs.
4. Moving Into the Higher Notes: F, High G, and High A
After the first five or six notes, most charts move on to F and then into the higher register (the upper set of notes, played by opening the thumb hole slightly instead of fully covering or uncovering it).
This is the trickiest new skill on the recorder: the thumb pinch, sometimes called "half-holing." Instead of fully covering or fully opening the back thumb hole, you cover most of it and leave a tiny sliver open. That small gap pushes the air to vibrate faster, which jumps the note up into a higher octave (the same note letter, but pitched higher).
- Keep your thumb relaxed, with just a slight bend at the first knuckle to create the gap
- Practice the pinch slowly — rushing it causes a squeak instead of a clean high note
- Use a mirror or ask a friend to check that your thumb is not fully lifting off the hole
Once the thumb pinch feels natural, high F, high G, and high A become much easier, because the finger pattern underneath is often similar to the low notes you already know.
5. Reaching the Top: High B, High C, and High D
The highest notes on a beginner recorder chart, from high B up to high D, combine the thumb pinch with fingerings that are more sensitive to hand position. Small changes in finger pressure noticeably affect the pitch and tone.
Most school recorder books introduce these top notes last, often not until several months into lessons. That timing is normal. These notes need more breath control and steadier fingers than the notes below them.
- Expect these notes to squeak more often while you are learning them — that is a normal part of the process, not a sign you are doing something wrong
- Practice them slowly and quietly before trying to play them loudly or quickly
- Come back to these notes daily in short bursts rather than trying to master them in one long session
6. Breath and Tonguing Tips That Actually Help
Fingering is only half the story. How you blow air into the recorder changes the sound just as much as which holes you cover.
- Breath support: blow with a gentle, steady stream of air, like fogging up a window slowly. Blowing too hard causes high, harsh squeaks, especially in the upper register.
- Tonguing: start each note by placing your tongue lightly behind your top front teeth and saying "too" or "doo." This gives each note a clean start instead of a breathy, unclear one.
- Air pressure for high notes: higher notes generally need slightly faster air, combined with the thumb pinch, not louder blowing.
A common mistake is covering the holes correctly but still getting a bad sound, because the breath is too strong or too weak. If a note sounds wrong, check your air before you assume your fingers are in the wrong spot.
7. Easy First Songs to Practice the Chart
Practicing scattered notes gets boring fast. Songs give your fingers a reason to move, which helps the fingerings stick in your memory.
- Hot Cross Buns — uses only B, A, and G
- Mary Had a Little Lamb — adds C and D to the first three notes
- Merrily We Roll Along — good practice for smooth switching between B, A, and G
- Ode to Joy (simplified) — introduces E and F once you are ready to move up
- Twinkle Twinkle Little Star — useful once you have added D and higher notes to your range
Play each song slowly at first. Speed comes naturally once your fingers stop having to think about where to go next.
Give Your Fingers Time to Learn the Pattern
A recorder fingering chart looks complicated at first glance, but it is really just a simple pattern repeated over and over: add or lift one finger at a time as the notes move up or down. Start with B, A, and G, add your right hand for C and D, and only move on to the thumb pinch once the lower notes feel steady.
Like any instrument, the recorder rewards short, regular practice far more than one long session. A few minutes a day with this chart will get you from your first shaky B to a clean high D faster than you expect.
Related posts
 How to Improve Your Sight-Reading Skills on Piano and Guitar리코더 운지법을 익히는 것도 결국 악보를 보고 빠르게 음을 짚어내는 훈련이라, 시창(sight-reading) 능력을 키우는 이 글이 자연스러운 다음 단계로 이어집니다.Read more →
 How to Train Your Ears for Music: A Beginner’s Guide to Ear Training리코더 초보자가 음정을 정확히 불기 위해서는 귀로 음을 구별하는 능력도 필요해서, 이어 트레이닝 입문 글이 보완 자료로 잘 맞습니다.Read more →
 5 Most Common Chord Progressions Every Beginner Should Know리코더 외에 다른 악기로 확장하고 싶은 초보자 독자에게, 코드 진행 기초를 다루는 이 글이 다음 학습 주제로 자연스럽게 연결됩니다.Read more →
Post a Comment